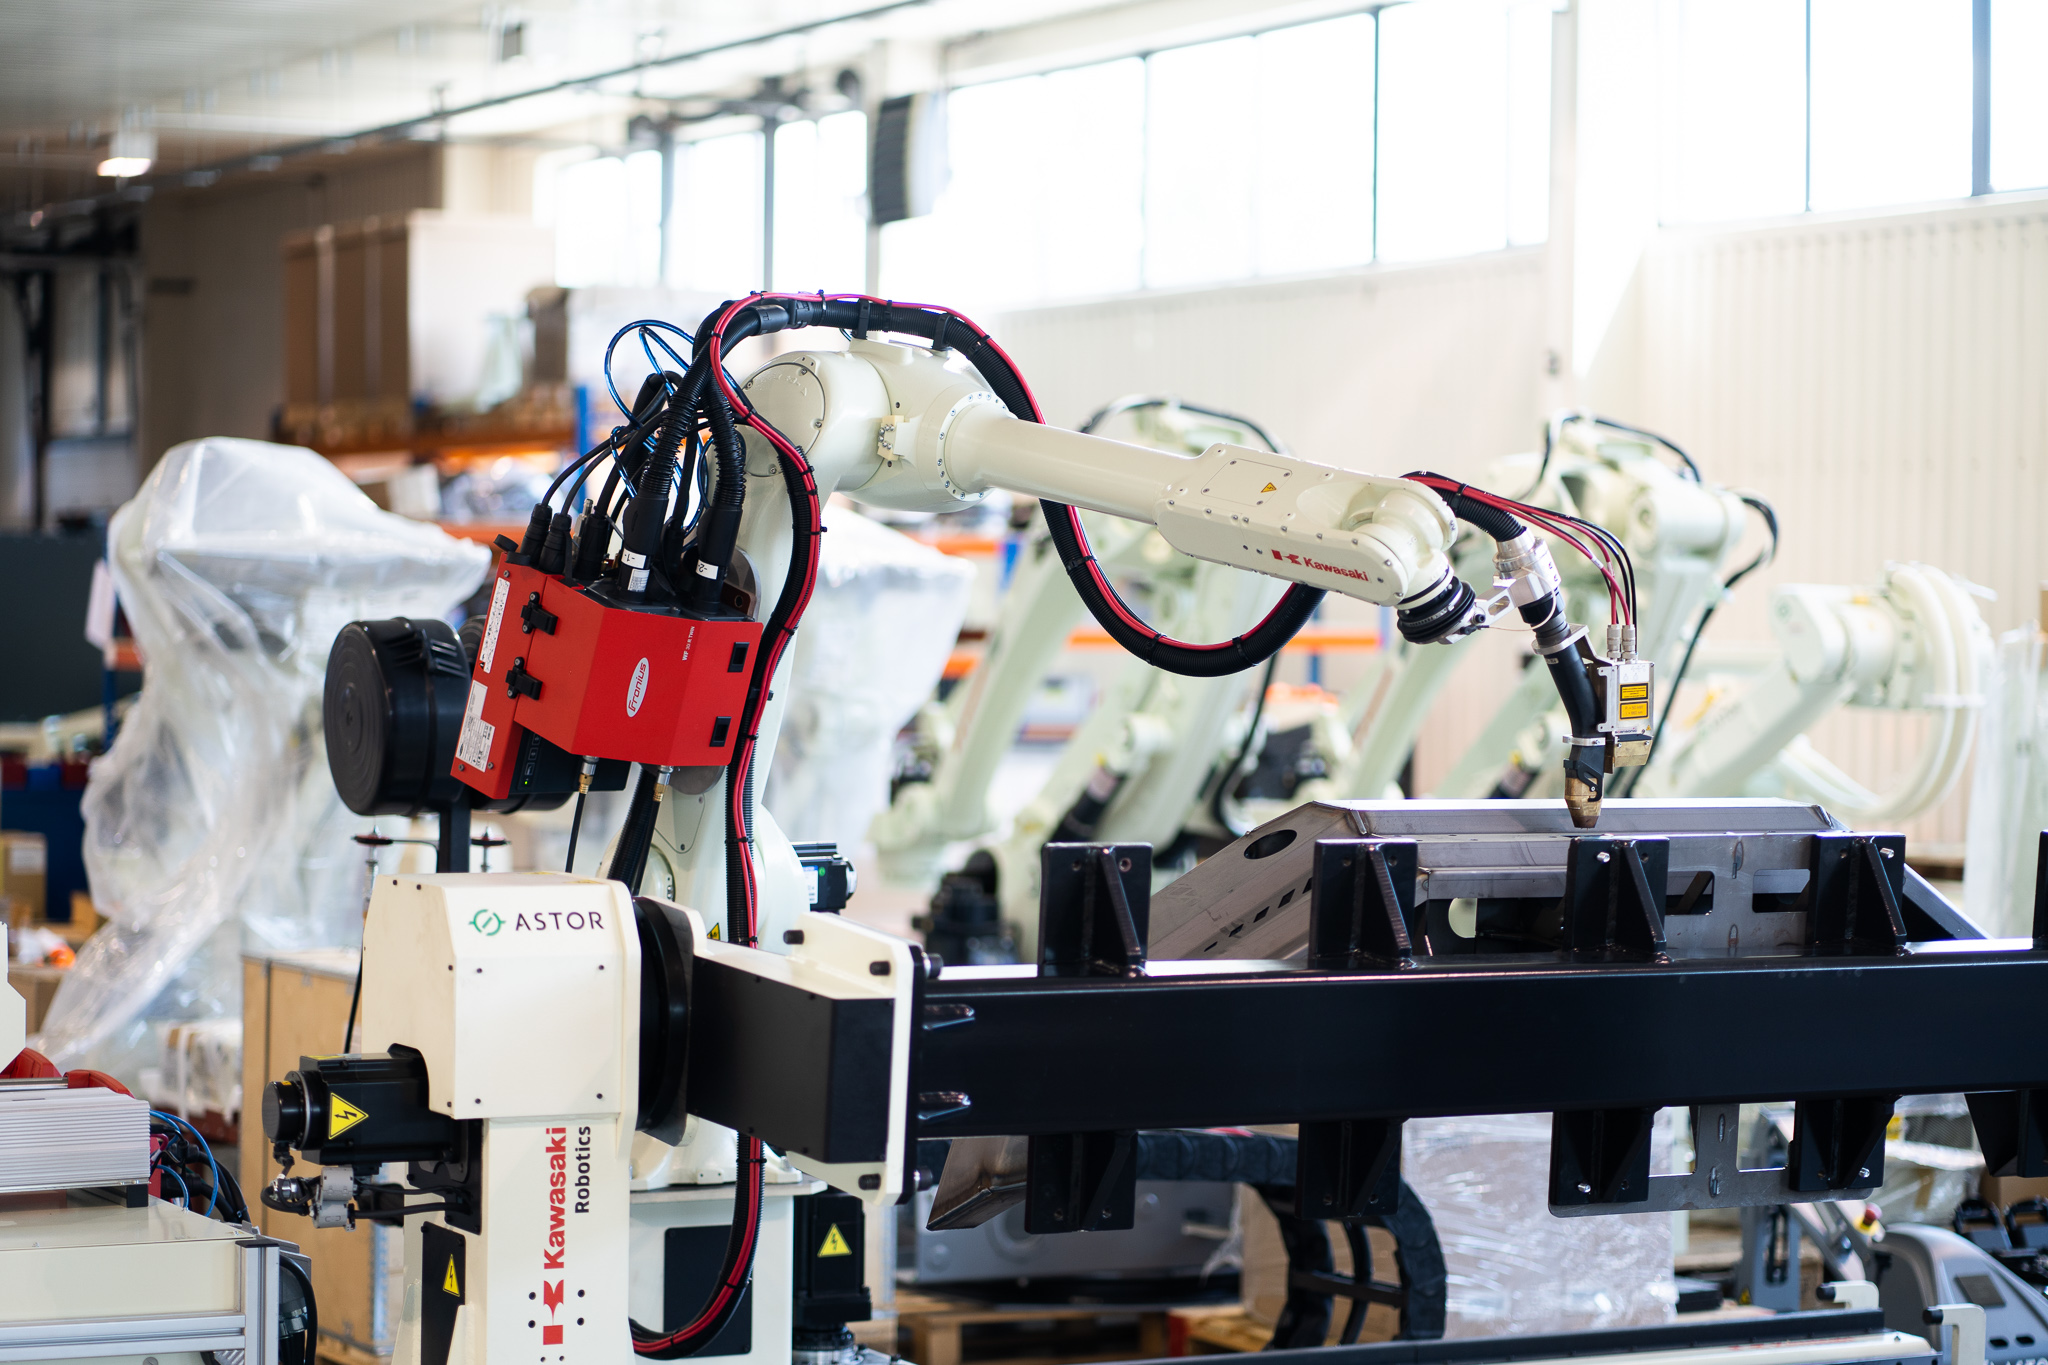

How to Choose the Right Welding Positioner for a Robotic Welding Cell
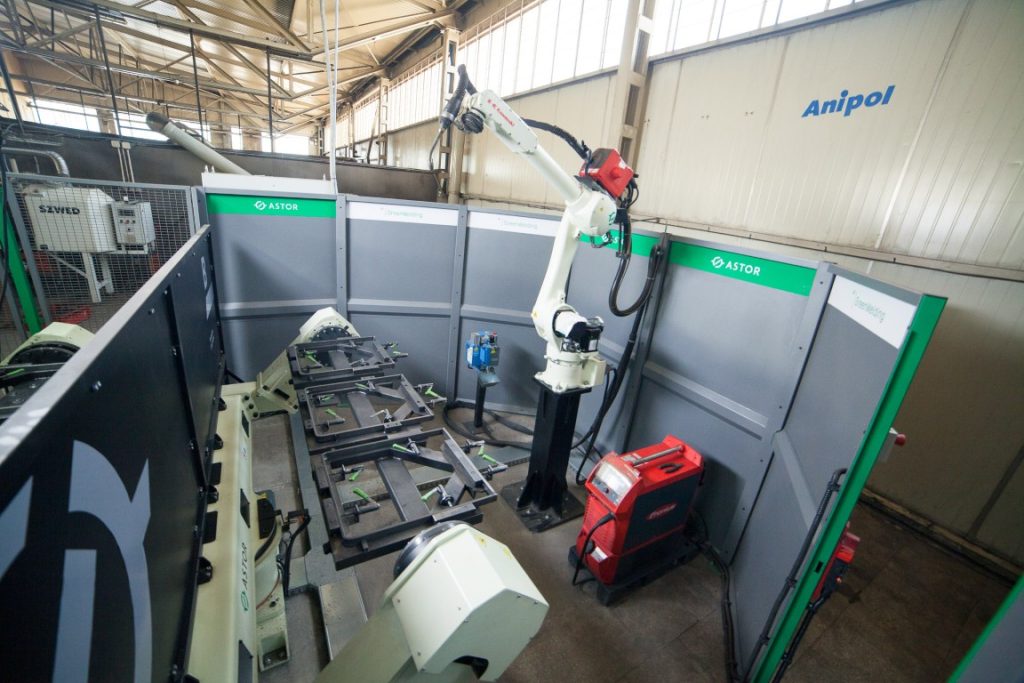
Selecting the right robot is often the first priority when designing a robotic welding cell. However, experienced automation engineers know that the welding positioner can have an equally significant impact on productivity, weld quality, and return on investment.
An undersized positioner may limit production capacity, while an oversized system can unnecessarily increase project costs. More importantly, selecting a positioner based solely on payload capacity can lead to performance issues, excessive wear, and safety concerns.
So how do you choose the right welding positioner?
This guide explains the key factors engineers should consider when selecting a welding positioner for a robotic welding application.
Why the Positioner Matters
The primary purpose of a welding positioner is to place the workpiece in the optimal orientation for welding.
A properly selected positioner allows the robot to:
- Maintain ideal torch angles
- Weld in favorable positions
- Reduce unnecessary robot movement
- Improve weld quality
- Increase productivity
In many robotic welding cells, the positioner contributes more to cycle-time reduction than the robot itself. Without proper workpiece positioning, even the most advanced welding robot will struggle to achieve maximum efficiency.
Step 1: Define the Workpiece Characteristics
Before evaluating any positioner, start with a detailed analysis of the parts being welded.
Key questions include:
- What is the maximum part weight?
- What are the overall dimensions?
- Where are the weld locations?
- How many product variants will be processed?
- How often will changeovers occur?
Many companies focus only on weight, but dimensions and geometry are often just as important. A long, lightweight frame can create larger loads than a compact heavy component because of the distance between the center of gravity and the positioner’s rotational axis.
Step 2: Calculate Total Payload
One of the most common mistakes is considering only the weight of the workpiece.
The actual payload includes:
- Workpiece weight
- Fixture weight
- Clamping systems
- Pneumatic components
- Sensors
- Additional tooling
For example:
| Component | Weight |
| Workpiece | 1,200 kg |
| Fixture | 500 kg |
| Clamps and accessories | 100 kg |
| Total Payload | 1,800 kg |
The positioner must be selected based on the total moving mass, not just the part weight.
Step 3: Understand Center of Gravity (COG)
The center of gravity is often more important than payload capacity. Many manufacturers assume that a 2,000 kg positioner can handle any 2,000 kg workpiece.
That assumption is incorrect.
The positioner’s capacity depends heavily on the location of the center of gravity relative to the rotational axis.
Example
Consider two workpieces weighing 1,500 kg:
- Part A: Compact weldment with COG close to the axis
- Part B: Long frame with COG far from the axis
Although both parts weigh the same, Part B creates significantly higher torque loads.
This directly affects:
- Drive performance
- Bearing life
- Positioning accuracy
- Safety margins
Ignoring center of gravity calculations is one of the most common causes of positioner selection errors.
Step 4: Determine Required Axes
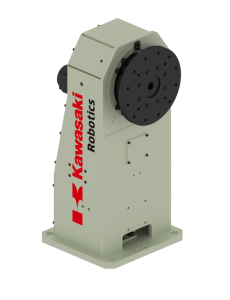
Not every application requires a dual-axis positioner. The correct configuration depends on the geometry of the weldment.
Single-Axis Positioners
Best for:
- Pipes
- Cylinders
- Tanks
- Rotationally symmetric parts
Advantages:
- Lower cost
- Simpler programming
- Lower maintenance
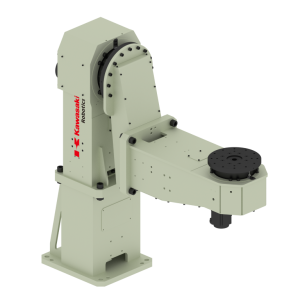
Dual-Axis Positioners
Best for:
- Structural weldments
- Machine frames
- Complex assemblies
Advantages:
- Greater flexibility
- Improved weld accessibility
- Better welding positions
Dual-axis systems are among the most common choices for robotic welding applications.
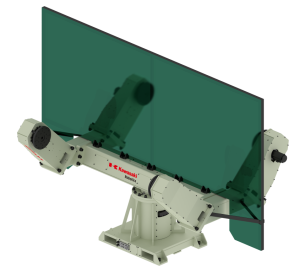
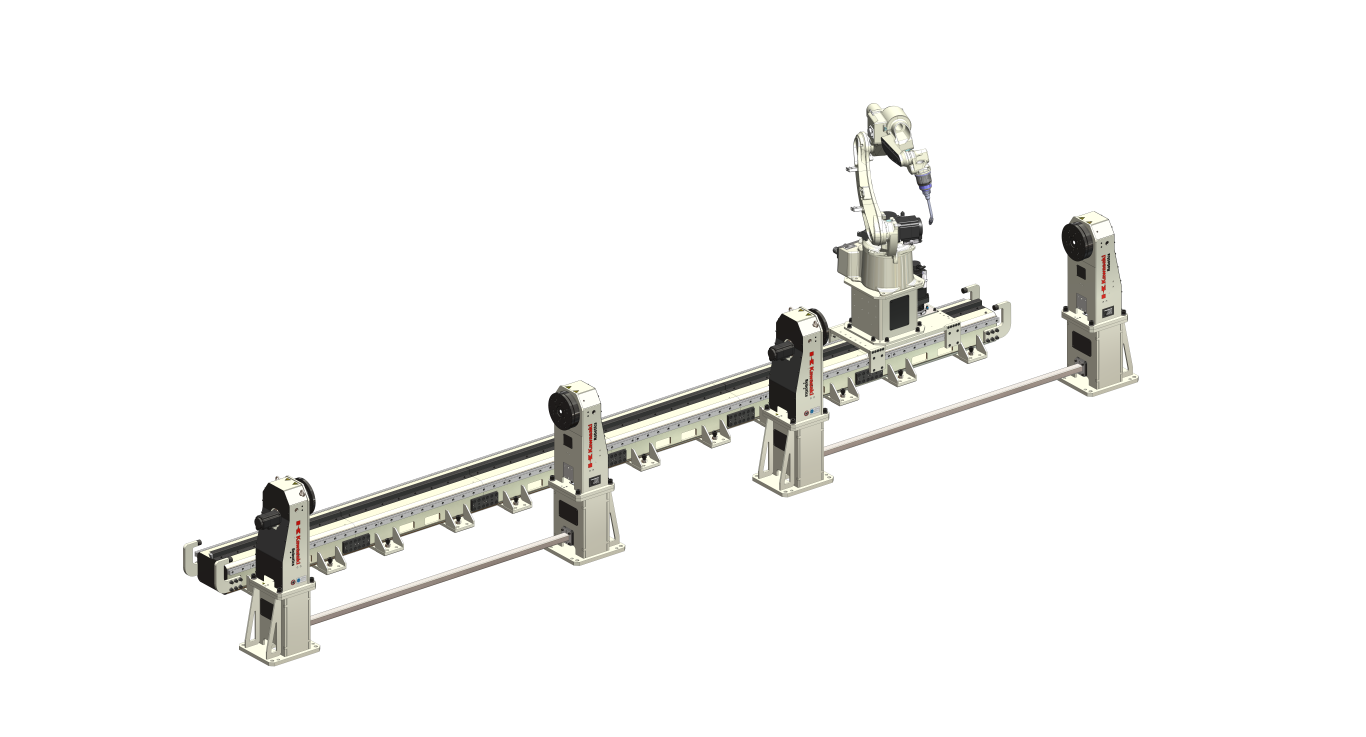
Headstock-Tailstock Systems
Recommended for:
- Long frames
- Chassis
- Large fabricated structures
- Agricultural equipment
These systems support the workpiece from both ends, reducing deflection and improving stability.
Step 5: Evaluate Weld Accessibility
A common design mistake is focusing on payload capacity while overlooking weld accessibility.
Ask yourself:
Can the robot reach every weld without:
- Excessive joint motion?
- Singularities?
- Collision risks?
- Poor welding angles?
The best positioner is not necessarily the strongest one. It is the one that presents the welds in the most efficient and accessible orientation. A simulation study can often reveal positioning issues before equipment is purchased.
Step 6: Consider Coordinated Motion Requirements
Modern robotic welding cells frequently use coordinated motion.
In coordinated motion:
- The robot moves
- The positioner moves
- Both systems are synchronized
This allows the robot to maintain a consistent torch angle while the workpiece rotates.
Applications involving:
- Long weld seams
- Circumferential welds
- Complex geometries
typically benefit significantly from coordinated motion.
If coordinated motion is required, ensure the positioner is fully integrated with the robot controller.
Step 7: Analyze Cycle Time Requirements
Positioner selection should support production goals.
Questions to consider:
- What is the target cycle time?
- How many parts per shift are required?
- Will loading and unloading occur during welding?
For high-volume production, a Ferris wheel or dual-station positioner may significantly improve throughput. While the robot welds one part, the operator prepares the next. This reduces idle time and increases overall equipment effectiveness (OEE).
Step 8: Consider Fixture Design Early
The fixture and positioner should be designed together.
Many projects encounter problems because:
- The positioner is selected first
- The fixture is designed later
This often results in:
- Excessive fixture weight
- Poor center of gravity
- Limited accessibility
A better approach is to develop the fixture and positioner concept simultaneously.
Remember:
The fixture holds the part. The positioner moves the part.
Both systems must function as a single solution.
Step 9: Evaluate Future Flexibility
Production requirements rarely remain unchanged.
When selecting a positioner, consider:
- Future product variants
- Larger workpieces
- Additional welding operations
- Expansion of the robotic cell
A modular positioner solution may cost slightly more initially but can significantly reduce future upgrade costs.
Step 10: Don’t Forget Safety
Positioners handle large moving masses.
Safety considerations include:
- Safe speed monitoring
- Emergency stops
- Mechanical locking systems
- Collision detection
- Protective guarding
Safety requirements should be considered during the earliest stages of system design. Retrofitting safety features later is often expensive and disruptive.
Common Positioner Selection Mistakes
The most common mistakes include:
- Choosing Based Only on Payload
Weight alone does not determine capacity. Center of gravity and torque loads are equally important.
- Ignoring Fixture Weight
Fixtures often account for 20–50% of the total payload.
- Underestimating Future Needs
Many systems are selected for today’s requirements only. Future flexibility should always be considered.
- Poor Accessibility Analysis
A positioner cannot compensate for a poorly designed welding process. Robot reach and weld access should always be verified through simulation.
- Selecting the Cheapest Option
The lowest-cost positioner may result in:
- Longer cycle times
- Reduced weld quality
- Limited flexibility
The total cost of ownership is often more important than the initial purchase price.
Positioner Selection Checklist
Before purchasing a welding positioner, verify:
✓ Maximum workpiece weight
✓ Fixture weight
✓ Total payload
✓ Center of gravity location
✓ Required rotational torque
✓ Required tilt torque
✓ Weld accessibility
✓ Number of required axes
✓ Coordinated motion requirements
✓ Future production flexibility
✓ Safety requirements
Conclusion
Choosing the right welding positioner involves far more than matching payload ratings. The best solution balances payload capacity, center of gravity, weld accessibility, cycle-time objectives, and future production needs.
When properly selected, a welding positioner can dramatically improve robotic welding performance, increase throughput, simplify programming, and maximize return on investment. In many cases, the success of a robotic welding cell depends just as much on the positioner as it does on the robot itself.